Contact us to find out how our products can transform your business and take it to the next level.
How To Troubleshoot Common Crimping Issues
 2024.10.21
 Industry News
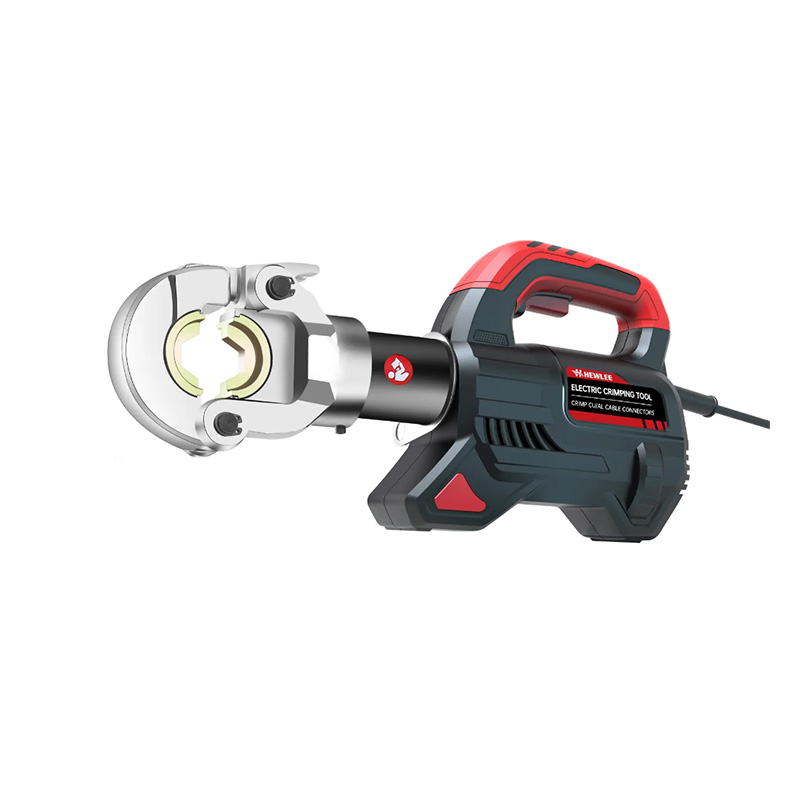
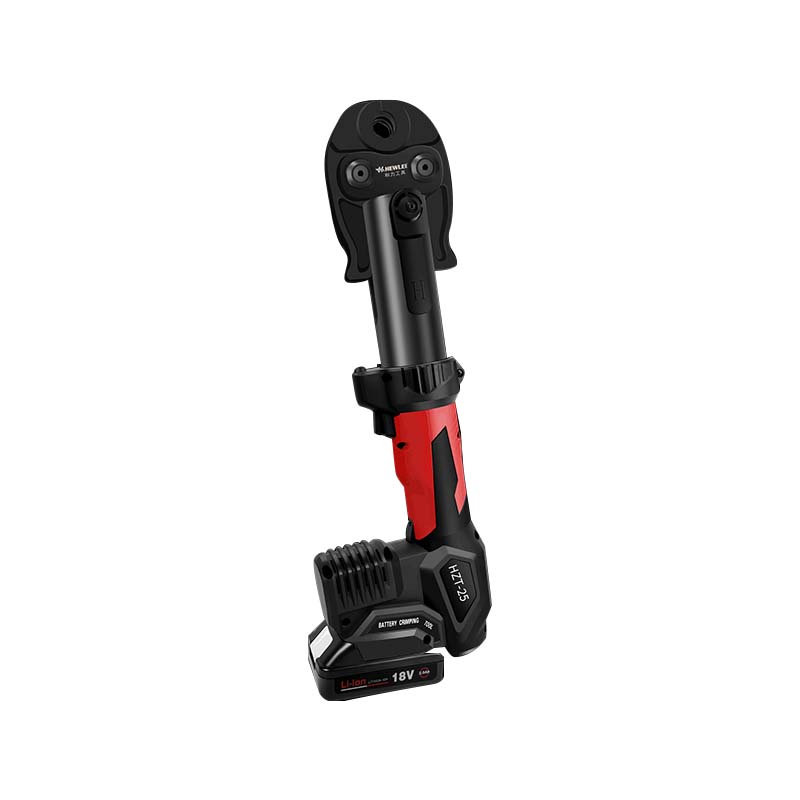
Crimping tools are indispensable in various industries, particularly when it comes to creating secure connections in hydraulic systems. Whether you're using a hydraulic line crimping tool, a manual hydraulic hose crimping tool, or a hydraulic pipe crimping tool, you may encounter issues that can compromise your projects. Understanding how to troubleshoot these common problems can save you time, money, and frustration, ensuring your connections remain strong and reliable.
Understanding Crimping Basics
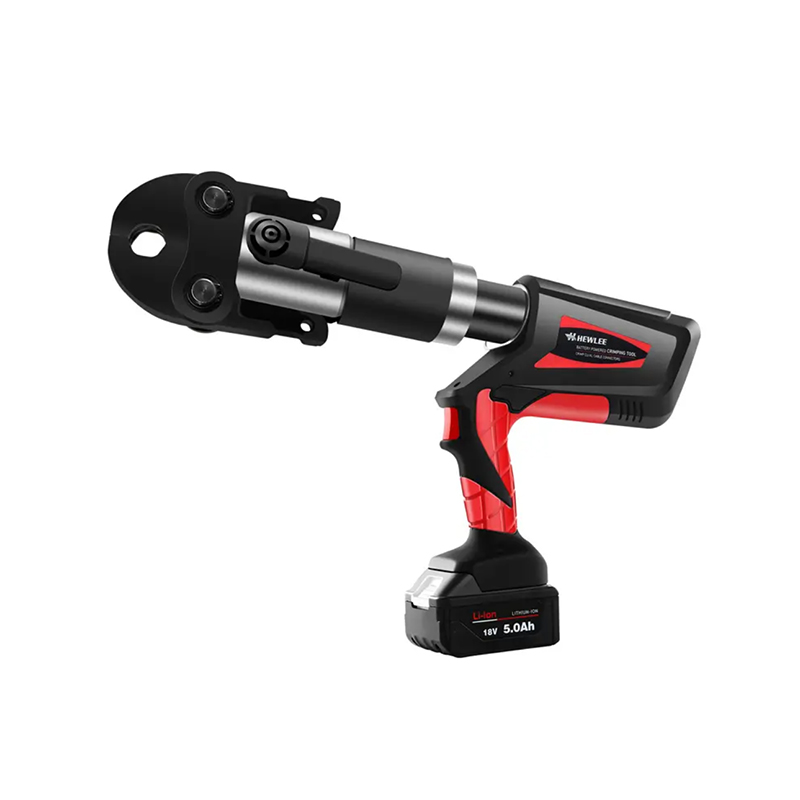
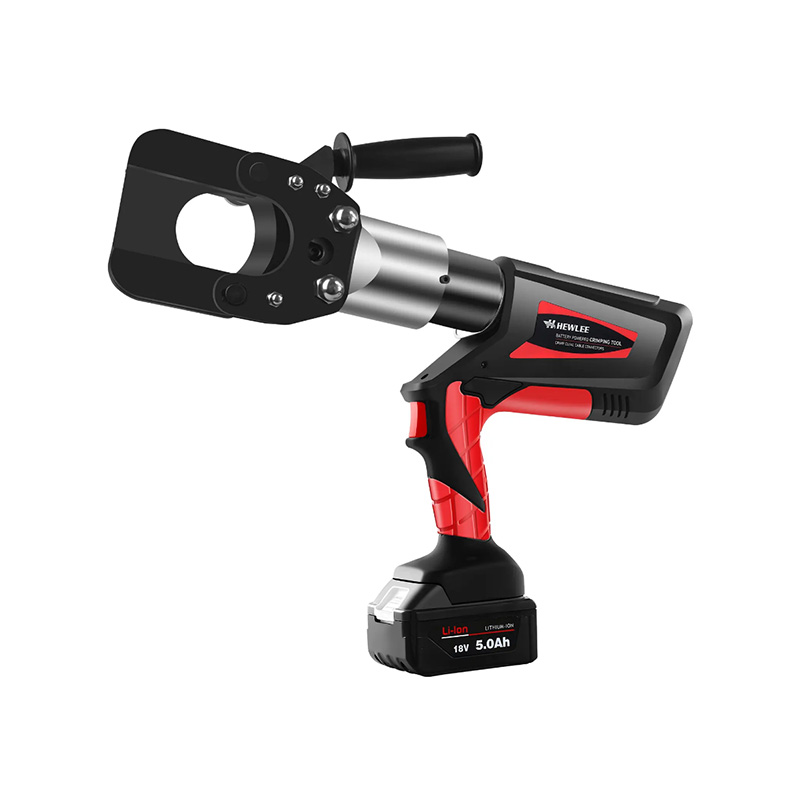
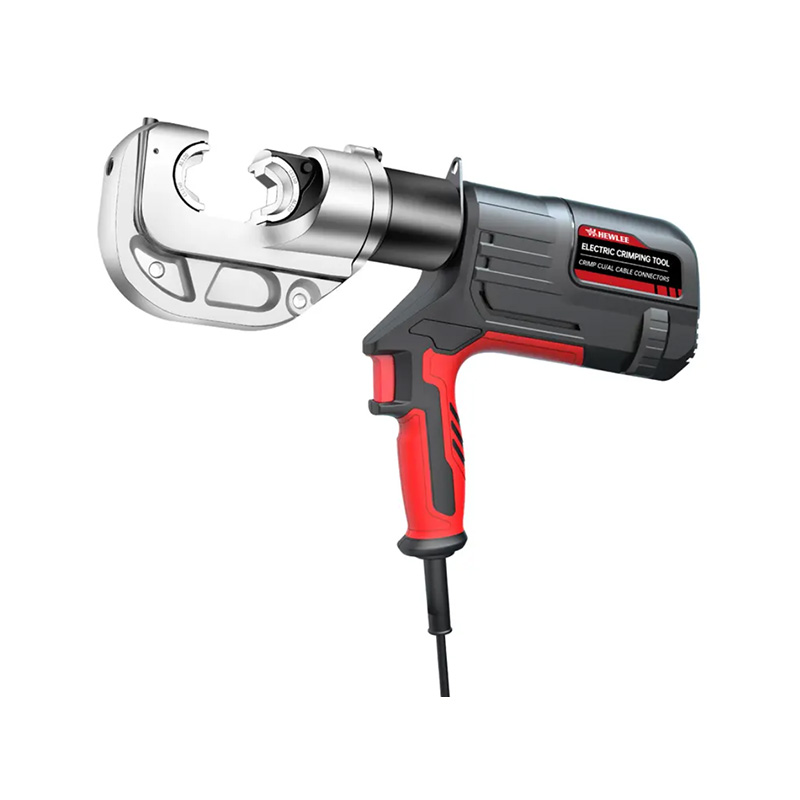
Crimping involves compressing a fitting onto a hose or wire to create a secure connection. This process is critical in hydraulic applications, where pressure and durability are paramount. A variety of crimping tools are available, each tailored for specific tasks. The hydraulic line crimping tool is designed for high-pressure hydraulic lines, while the manual hydraulic hose crimping tool offers portability and ease of use. The hydraulic pipe crimping tool caters specifically to pipe applications, making it essential to choose the right tool for your job.
Common Crimping Problems
1. Inconsistent Crimping Pressure
One of the more frequent issues users face is inconsistent crimping pressure, which can advance to weak connections. This problem often arises from the improper calibration of the tool or worn-out components. To address this, regularly check the calibration of your hydraulic line crimping tool. If you notice fluctuations in pressure, consider having the tool serviced or replacing any worn parts. Ensuring that the tool is clean and well-maintained is essential for achieving consistent results.
2. Improper Alignment
Another common issue is improper alignment of the hose and fitting during the crimping process. Misalignment can result in uneven crimping, pilot leaks, or premature failure of the connection. To avoid this, carefully inspect the alignment before starting the crimping process. Using a manual hydraulic hose crimping tool allows for more precise adjustments, so take your time to position everything correctly. Double-checking alignment can save you from future complications.
3. Crimping Too Tight or Too Loose
Achieving the right level of crimping force is crucial. Crimping too tight can damage the hose or fitting, while crimping too loosely can advance to leaks. It's important to refer to the manufacturer's specifications for crimping dimensions and pressures. If using a hydraulic pipe crimping tool, make sure to follow the guidelines specific to the materials you are working with. Regular training and practice can also help operators become proficient in recognizing the appropriate crimping force.
4. Inadequate Tool Maintenance
Failure to maintain crimping tools can advance to a host of problems, from decreased performance to total tool failure. Ensure that you regularly inspect your hydraulic tools for any signs of wear, such as cracks or rust. Lubricate moving parts as recommended, and clean any debris that may accumulate during use. A well-maintained hydraulic line crimping tool will perform better and last longer, helping you avoid the costs associated with tool replacement.
5. Incorrect Die Selection
Using the wrong die for your crimping tool can result in inadequate crimping. Each application requires a specific die to ensure proper fitting size and shape. If you're experiencing issues, check that you're using the correct die for the type of hose or pipe you are working with. This is especially important when working with different materials or sizes. Always have a variety of dies on hand to accommodate various projects.
Steps for Effective Troubleshooting
When troubleshooting crimping issues, it's important to follow a systematic approach:
- Step 1: Identify the Problem
Take note of the symptoms you are experiencing, such as leaks or weak connections.
- Step 2: Inspect the Tool
Look for signs of wear or damage, and ensure that the tool is clean and calibrated.
- Step 3: Review Your Technique
Analyze your crimping technique to see if you're misaligning the components or applying incorrect pressure.
- Step 4: Consult Documentation
Refer to the manufacturer's manual for specific guidance on the tool and dies.
- Step 5: Test and Verify
After making adjustments or repairs, perform a test crimp to ensure that the problem has been resolved.
Troubleshooting crimping issues doesn't have to be a daunting task. By understanding the common problems associated with tools like hydraulic line crimping tools, manual hydraulic hose crimping tools, and hydraulic pipe crimping tools, you can address issues effectively and ensure strong, reliable connections. Regular maintenance, proper technique, and a thorough understanding of your equipment are key to successful crimping. With these strategies in hand, you can delve into your projects with confidence, ultimately achieving high-quality results every time.
 English
 русский
 Español
